Have you ever wondered how to clean your make up brushes?
Its so quick and easy!!!
.jpg)
What you need:
1. Dirty brushes
2. Olive Oil
3. Dish Soap
4. A plate
Start by pouring olive oil onto the plate. Any amount will do.
Start by pouring olive oil onto the plate. Any amount will do.

Next pour some dish soap onto the plate. Try to make the amount of olive oil and dish soap equal.

Take your dirty brushes and start rubbing them all around in the mixture. I make sure that when I am washing my brushes I make sure to get the whole brush washed, make sure that your mixture is getting all the way up to the metal of the brush.
Your mixture should start to look like this...
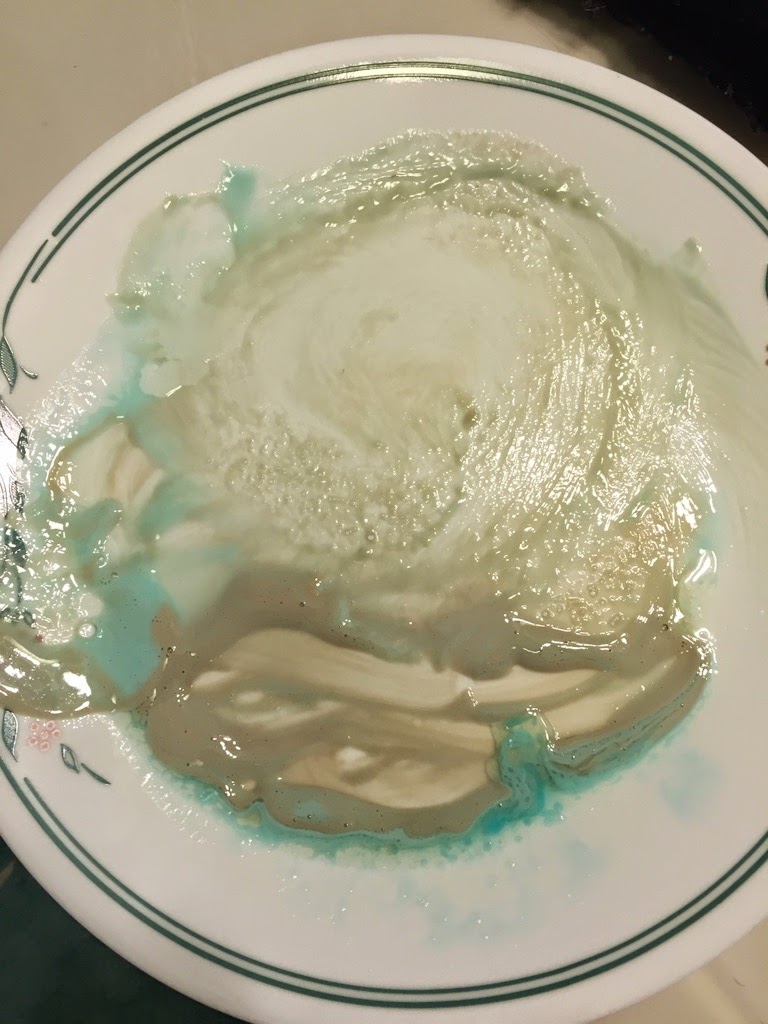
Once it starts looking like this... I wash my plate off and put fresh olive oil and dish soap on the plate.
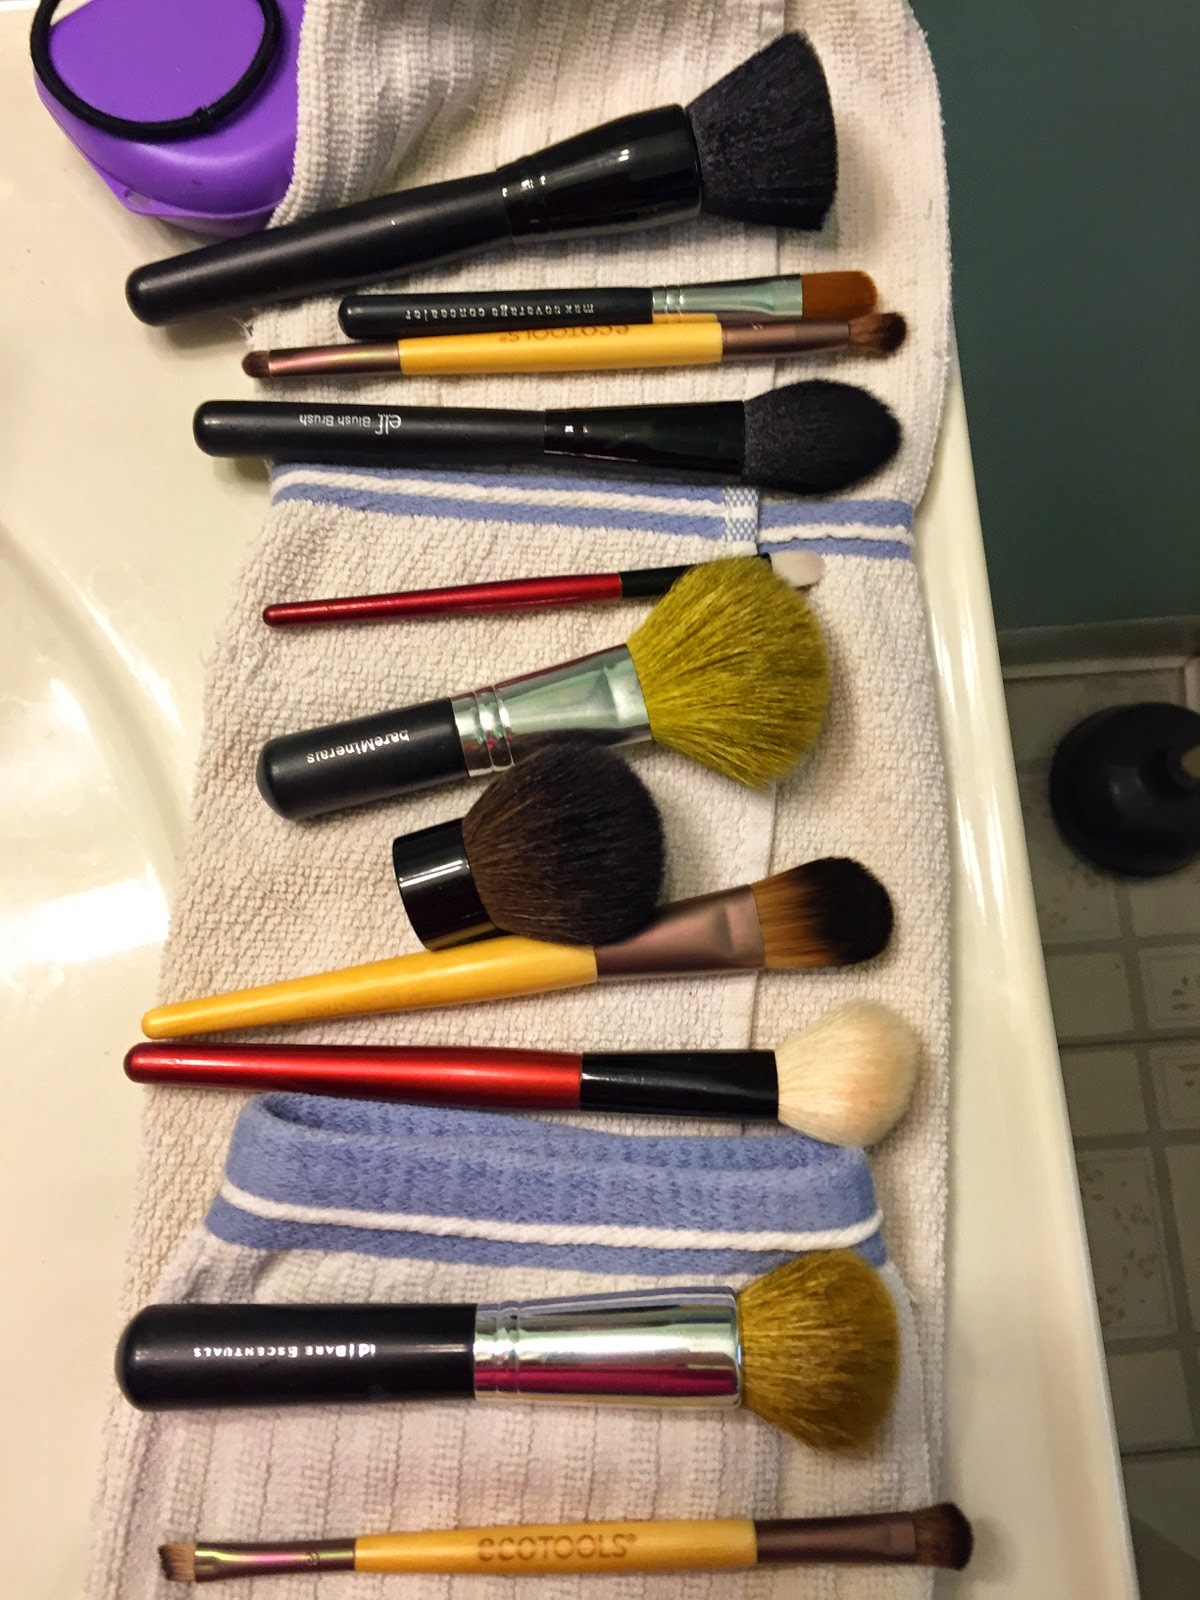
After all your brushes are soapy with the olive oil and soap, rinse them off with warm water and lay them on a towel flat to dry. I wash my brushes in the morning, let them sit all day and night and then by morning the next day they are ready to use again. They need about 24 hours to dry, so dont think an hour after washing them, you will be able to use them!!
Why should you lay your brushes out flat?
It will make the brushes last longer. When you set them upright it allows water to get into the metal part of the brush, that holds all the fibers! Eventually the metal part will detach from the handle from all the water that has settled.
Tips to know:
You can dry them by hanging them UPSIDE DOWN.
Before I lay my brushes on the towel, I tap them off on the towel, and then lay them out.
Why should you wash your brushes regularly?
First of all you should be washing your brushes once a week. But Ill be honest with you, life gets in the way and I forget.
BUT...
Here is why you should... by not cleaning your brushes, it can lead to unwanted pimples and skin problems.
I had let my brushes go way too long. I started noticing that my makeup was looking cakey and that my skin was getting break outs for no reason. And then realized that it had been a while since I had washed my brushes! I washed them and it has made a huge difference in how my makeup looks.
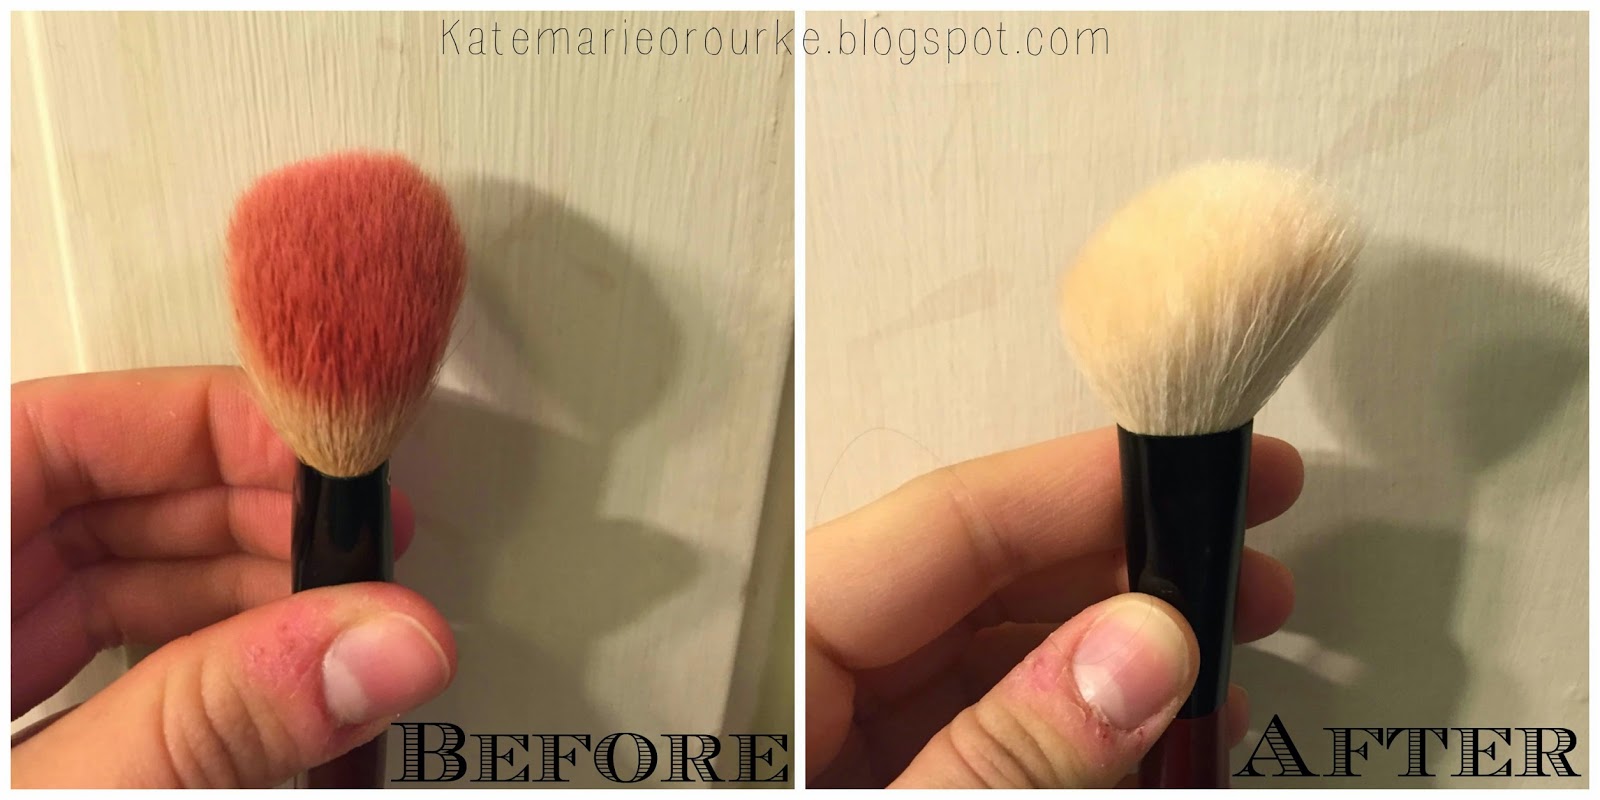
We all know that I like a before and after picture, so here is a dirty brush, compared to it being cleaned.
HUGE difference right?!
I hope you enjoy!!!
XOXO, Kate